T-shirt Printing Materials Checklist for Beginners
DIY printed t-shirts have always been all the hype, and gradually more people are looking for ways to become better at t-shirt printing. Some might do it for fun, some might be thinking of making a living out of it, but one thing is for sure, a t-shirt printing materials checklist for beginners is an absolute must.
However, how will you know what to add to that list? The best way to go about this task would be to look at a checklist for beginners consisting of the most widely used printing apparatus. So, without further ado, let us get right into the list!
T-shirt Printing Materials Checklist for Beginners
You may be asking yourself, “What do I need to print t-shirts at home?”
Starting with the basics, here’s a rundown of the t-shirt equipment you’ll need. This isn’t true, though, in terms of importance. So go ahead and get whichever comes first.
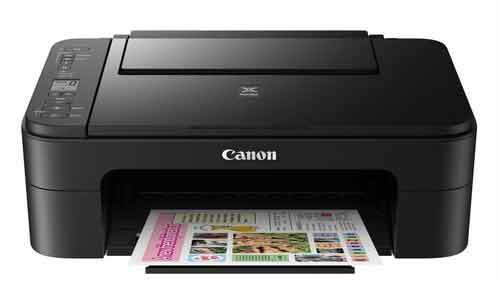
1. Inkjet Printer
An inkjet printer should be your topmost priority when deciding on what to purchase for t-shirt printing since, without a printer, you will not be able to transfer your printed work from the computer to the transfer paper.
When using an inkjet printer, always be sure to use inkjet transfer paper since they are most compatible with each other. Moreover, do not hold back on purchasing a good quality printer even if it costs you a bit more than usual since it will ensure that your work has a perfect finishing to it.
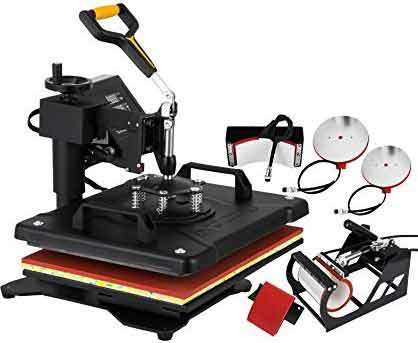
2. Heat Press Machine
After deciding on which inkjet printer you wish to buy, you should decide on buying a heat press machine since this will help you transfer your desired illustration to the t-shirt of your choice. These pieces of machinery may be used for printing on multiple surfaces such as shoes, mouse-pads, and even mugs.
There are several kinds of heat press machines available in the market, from manual ones to electronic and even commercial-level heat machines, which are used for larger purposes.
As a beginner, we would advise you to opt for the manual heat press machine, and if not, that then the electronic one. The size of your heat press machine is also dependent on what you wish to print.
For example, smaller designs and fewer letters in your illustration will be able to make do with a small or medium-sized machine.
However, the ideal size for a heat press machine would be a 16 x 20 one, and if not, then a 15 x 15 one, which can later be modified to the one mentioned before.
If the cost of a heat press machine falls outside of your budget, you may settle for an iron box as it also serves a similar purpose. However, we cannot guarantee you that your artwork will come out in its best quality.
Hence, before you decide what to get from this printing materials checklist for beginners, you should have a reasonably large budget.
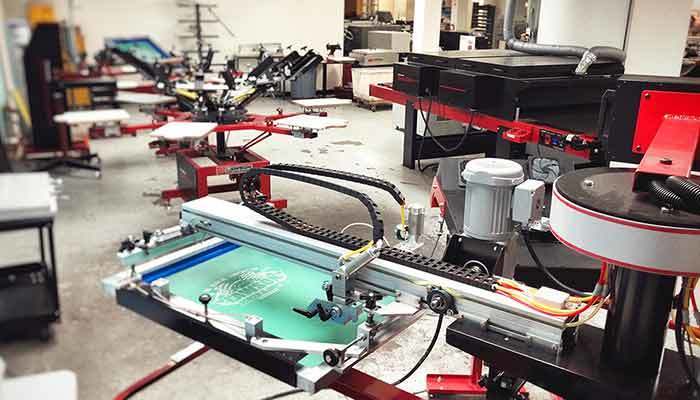
3. The Screen
A screen is mainly used to make guides for printing, which can then be transferred to the t-shirt of your choice and, consequently, pass the design onto it. Although it is quite similar to what a heat press does, different techniques are used to transfer prints from stencils to t-shirts.
The downside to using a screen is that you will need to make a lot at once if you wish to be working on something that is very flashy and colorful since each stencil can only retain one color.
One of the things that you should keep in mind when purchasing a screen is its mesh count since a higher count value will give your result a finer finish.
As a guideline, you should know that for casual printing, you should get a screen with a mesh count of 15-160, while for sporty designs, a mesh count of 15 to 90 is required.
You can also make your screen by yourself instead of buying it from a store, and for this, you will need your screen to have a strong frame made preferably of wood or aluminum. Furthermore, screens are light-sensitive, so you might want to look into that as well.
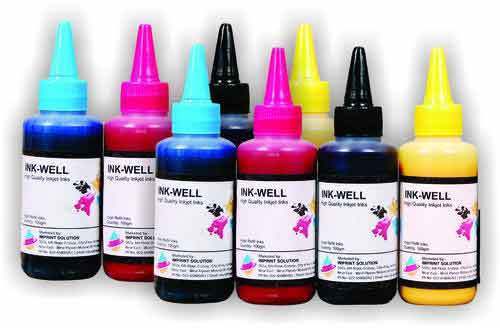
4. Ink
Inks are what makes your design visible to the naked eye. They are available in the market in a plethora of different colors and which one you get depends solely on the kind of design you have in mind.
If you are an absolute beginner, we would suggest you opt for the primary colors such as yellow, red, blue, and/or white since you will also be able to obtain a different color by mixing any two primary colors.
All you will need to do is to take the weight of both inks so that you can maintain a proper ratio and, subsequently, a more exact result. You should be using solvent ink if you are into t-shirt printing.
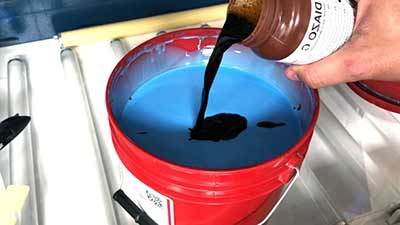
5. Emulsion
An emulsion is what protects your screen from light exposure and forms the stencils needed to carry out printing. When exposed to direct light, the emulsion hardens.
You will easily be able to coat your screen with this substance if you have a scoop coater, otherwise known as a squeegee.
The thick application of emulsion is highly recommended since this will increase the amount of area that your screen covers, and it will also aid in the slicker transfer of the print.
When drying the emulsion screens, be sure you keep them in a drying rack so that they do not come in contact with each other.
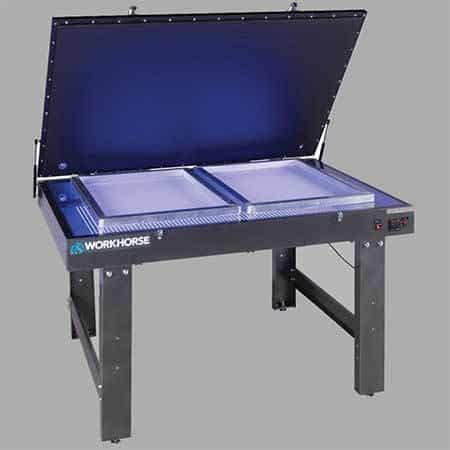
6. Exposure Unit
An exposure unit is what will help form better stencils out of the emulsion-coated screens by focusing light on the stencils instead of letting it shine evenly all over the place. When you place screens in the unit, do make sure that either side of the screen does not touch the other.
7. Water Source and a Conveyor Dryer
The best source of water would be from a wash-station since it supplies a constant flow of water, which is essential for washing off the extra uncured emulsion from the screen.
After you are done washing the screens, pass them through the conveyor dryer, which will dry the screens along with the ink on the fabric and hence lock it in place so that it cannot be erased as easily anymore.
Additional Materials Needed for T-shirt Printing
After collecting the main products needed for your t-shirt printing, You may need some additional materials. These aren’t absolutely necessary, but they can make your job easier. These are some of them:
- Flash cure unit
- Spotting gun
- Emulsion remover
- Degreaser
- Tape gun
- Brushes
Conclusion
This concludes our t-shirt printing materials checklist for beginners. After getting these tools, you must learn how to use them so that they can last you a long while.
We hope you found this list helpful, and we will see you again soon. Till then, happy printing!

