How to Apply Heat Transfer Vinyl With an Iron
Remember the days when you used to paint on your computer?
Well, back then, we all had that obsession towards freehand illustration with the availability of different templates.
But now we have many upgraded versions and exclusive software for taking illustration and designing into a whole new level.
And honestly, during this summer holiday, I have painted a lot of anime characters in Adobe Illustrator CC and Inkscape.
Guess what?
It inevitably merged with all the aesthetics!
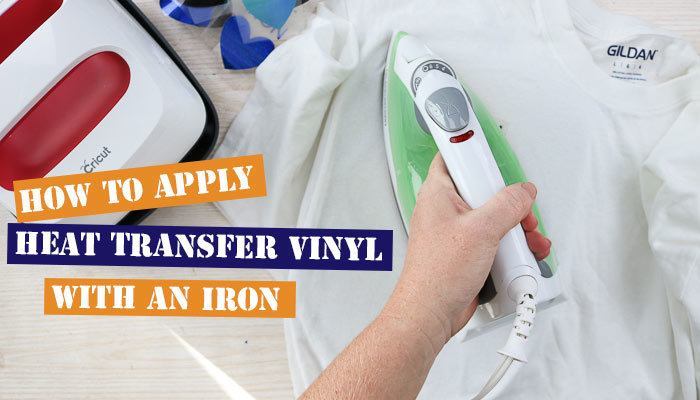
Later on, I hit on an idea to transfer them to my basic t-shirts! I mean, why not?And for this, I have used a traditional hand iron to apply HTV or heat transfer vinyl.
However, if you are suspicious about this method since a few years ago when you tried it, the outcomes of using a hand iron weren’t substantial, then rejoice!
Because it’s redemption time! I have lined up the most effective and easiest way to get this done. Check it out!
Before Anything Else!
So, before you start sugarcoating your expectation and purchase HTVs from a local vinyl market, you should be aware of few realities to ensure getting into the task with knowledge and preparation.
Also, if you are a novice in applying HTV or never tried any of the conventional methods, you need to grasp what heat transfer vinyl manifests first.
Well, HTV is basically a process where a specific type of vinyl is associated to switch the pattern or design onto a solid fabric or garment.
And this process requires maximum pressure and heat to transform the pattern into the clothing.
Moreover, HTV’s arrive in diverse sheets and rolls, including adhesive backgrounds that are typically made with one solid color.
As I have mentioned that it comes in different sheets, you already can grasp that it has variation or an array of numerous options to choose from.
Hence, you got to be picky and conscious while choosing HTV for your projects. Because if there was a scarcity of options, then you could choose any one of them and hit the bull’s eye in a jiffy. But as the diversities are significant, you must consider a few facts.
Take These Facts in Account Before Buying An HTV
This is important before you start working with your hand iron because the method is intricate but with proper guidance you can acquire it. What it takes to accomplish the task reasonably is to have an ideal HTV sheet.
And to be honest, it’s effortless only when you manage to keep the temperature and pressure accuracy as well as choose the best suited HTV sheet.Afterwards, rest assured; your work is done!
- If you want to weed out the tiny little letters for an even and detailed finishing, you should opt for a 12 x 15 inches HTV sheet with color availabilities.
For instance, you can check out the Siser NA Easy Weed Out HTV bundle. Siserprovides numerous versions of HTV sheets in the aspect ofsize, color option, durability, etc.
- When you are expecting to craft something for your children or want to run a heat press business of decorative vinyl T-shirts, you require an HTV, which ensures a relatively lower heat and retains the same color contrast and quality even after washing.
For this Siser has easy weed iron HTV. You can also check on other HTV sheets that fit the outlined attributes.
- Now, when you want to transfer the vinyl on hoodies, sweatshirts, or thick garment materials, you will need an eco-friendly heat release material that doesn’t distort the designs.
Also, it’s crucial to choose a machine that allows flexible trimming so that you can create a unique and complicated design without any harsh lines or ridges coming out.
On top of that, a machine with high caliber and multiple color schemes is what you will need for applying HTV on high-density materials. For this having a tool like XPcare heat transfer vinyl can help you accomplish your projects in no time.
So, these are few facts that you should consider before buying your heat transfer vinyl because the end results verily rely on the type of machine you are using or whether the exerted heat will be sufficient.
Choosing the Ideal Hand Iron for Your Operation
See, if you are a newbie in working with vinyl, then it’s obvious to feel overwhelmed and a bit intimidated in a community where the mass population is creating extra-ordinary designs and setting up their business.
Once you have mastered the necessary skills of making vinyl and transferring them into your end product, you can easily progress towards settling your heat-press business at home. The products can be tote bags, customized T-shirts, floor rugs, basic shirts, etc.
Also, while having a conventional hand iron, the process of transferring the vinyl to your custom tees or any other products becomes straightforward and inexpensive as well.
Mostly, the operation becomes utterly easy to accommodate.
Hence, before you start enrolling the steps to transfer vinyl, you have to ensure having a competent heat iron depending on the type of outcome you are anticipating.
For instance, there are hand irons with a flat surface, which are relatively better than those with curved edges and big steam holes in the middle of the unit.
When you have a flat surface, the heat and pressure remain proportional to each other, making the design seamless and piercing the material evenly.
On the other hand, there are hand irons that allow you to control different settings depending on the material type.
For instance, you will have cotton settings that have the steam option disabled. And itwill protect your material from any internal or external damage and avert the color from fading away.
Hence, make sure you always choose a hand iron with a flat surface and a cotton setting availability.
7 Easy Steps to Apply Heat Transfer Vinyl With an Iron
Let’s start with the process step by step!
Step 1 –Approaching the Right Tools for Your Job
Needless to say, that before you start working with HTV, you have to accumulate all the necessary supplies. So here they’re!
- Heat transfer vinyl according to the type of material you are working with. Or else you can choose the universally used one from an array of smooth, cloaked, or glittery HTV sheets.
- A competent vinyl cutting machine for cutting out your vinyl without any risk or fumbles. I prefer using silhouette and circuit explorer for this.
- A hand iron and a stable iron stand for supporting and keeping the material in place without freaking out or collapsing.
- The apparel or product where you want to transfer the vinyl.
Step 2– Craft Your Design
The first step is to prepare your design, which you have to cut on your vinyl machine and weed out before embedding it on the HTV.
So, to craft your design, you can use CorelDraw, Inkscape, or adobe illustrator and then load it into a cutting software.
I have already mentioned a few cutting software like silhouette and circuit explorer for trimming your vinyl in sands of time. However, I prefer using an SVG cut file because it almost supports every software.
Step 3 – Take Measurements
Thirdly, you need to take accurate measurements of your product as in the specific region of your product where you want the vinyl to settle.
For this, take a scale and measure the width and length from the center of your product and mirror the measurements when crafting the design as well because you want your vinyl to fit and look proper on the product’s surface.
Step 4 – Mirror the Design
The next thing you have to do is to mirror the design horizontally. When you do this, it automatically flips, and thus while applying HTV on your t-shirt or a garment, the design looks right because you are cutting the vinyl face down.
So, when you insert the design while having the plastic side of the vinyl on top and adhesive side on the rear side, it’s applied orderly.
Step 5 – Cut Your Design
Now you have to cut your design on your software. Always make sure to do this from the glossy side down and keep the matte side up. Hence you will be cutting on the matte side so that it stays on the adhesive side, which is heat sensitive, and the glittery andclear plastic portion remains on the top.
While cutting, you can use silhouette mats. They are available in different sizes, depending on the dimensions of your design. For instance, you can get onethat is 12” X 12” and 12” X 24”.
Next, determine the cut setting on your software according to the material type. You will have options like smooth cuts, double cuts, cuts from different angles, etc.
Step 6 –Weed Out
When you have the cut design in hand, it’s time to dissect the unnecessary parts from your design. For weeding, you can use manual tools such as squeegee, scissors, and tweezers.
Step 7 –Ironing
Now you have everything you need to proceed with the ironing technique. Here you will need to apply accurate heat and pressure in order to get the transformation done.
- To begin, you need to take a clear and transparent carrier sheet (Teflon works best)so that you can read the design even after putting it on top of the material. It will protect your clothing from the exposure of intense heating and keep the clothing damage free.
- Now take the t-shirt and place the vinyl cut.
- Then plug your hand iron to its power source and set the heat and cotton option setting.
- Wave your hand around the iron to grasp the emitting heat to ensure the intensity.
- Pre-iron your cloth to avoid wrinkles and avoid moisture.
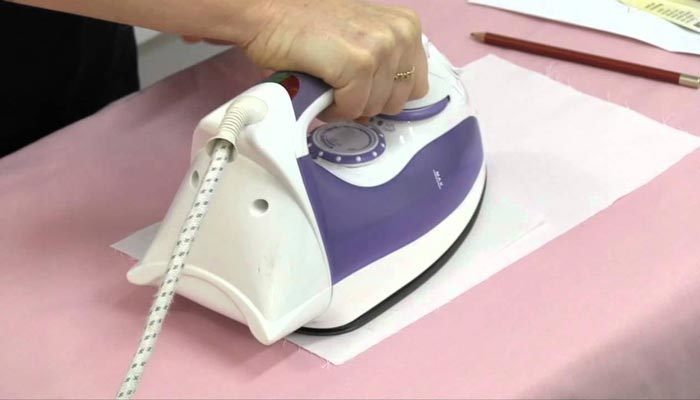
- Then put the carrier sheet on the design and start pressing your hand iron on each side of the design for 12-14 minutes approximately. However, the time management will always depend on the type of material you want to put your HTV design. Hence always read the instruction manual.
- After that, gently start peeling the carrier sheet.While removing, if you notice that the vinyl hasn’t settled yet or it’s coming out, instead of panicking, put it down again and run the heated iron with maximum pressure.
- Once you have the HTV design correctly applied to your product, make sure you flip the garment inside out and heat press again to stabilize the print for prolonged and persistent use.
And you are done applying heat transfer vinyl with an iron!
Bottom Line
Before you start wearing or using the garment, make sure you allow the adhesive to set in for 24 hours. After one day, you can wash it or put it on your laundry machine for cleaning.
I hope this article helped in clearing your concerns. However, if you haveany questions or want to provide any suggestions regarding this topic, then feel free to drop your valuable assessment below.


