How To Center Shirt On Heat Press: Step by Step Alignment Tips
When it comes to creating professional-looking shirts, one of the most important aspects is centering the design on the shirt. If the design is not centered, it can look amateurish and unprofessional. Fortunately, with a little practice, anyone can learn how to center a shirt on a heat press.
How To Center Shirt On Heat Press
Following a few easy steps, you will be able to center your shirt perfectly, and create a transfer that is aligned from all sides.
Step 1
At first plug in your heat press to the nearby power outlet and turn on the machine. Then you need to adjust the settings of the heat press machine. These settings include the time of the press, the temperature, and the pressure. While setting each value make sure that you set the parameter according to the nature of the garment that you are about to press.
Step 2
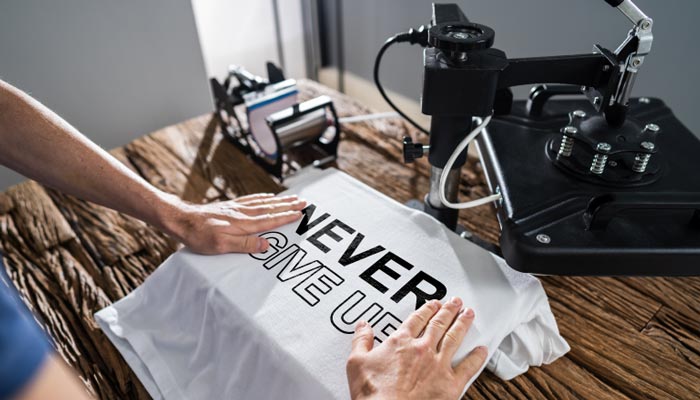
You may open the top platen of your heat press once all the settings have been set precisely. Closing the top platen after placing the shirt neatly on the bottom plate and covering it with parchment paper. 4-5 seconds are needed to press the clothing. Pre-pressing aids in getting rid of any wrinkles and moisture from the garment. Pre-press provides you with a flat, smooth surface to work on, making it simpler for you to correctly center the shirt.
Step 3
Make sure both sleeves are straight and uncreased when you lay the shirt flat on the bottom plate. Take one sleeve and flip it backward, till it overlaps the second sleeve. This is a really important stage. Ensure that the alignment of both sleeves is perfectly aligned. Additionally, you must ensure that the margins of the shirt’s two ends are perfectly aligned, as well as the neckline. You should correct any irregularities, no matter how small.
Step 4
Cover the shirt with a piece of parchment paper once it is folded nicely and placed on the lower platen. The top platen must then be closed. For 5 to 6 seconds, press the shirt. From the point where your garment began to overlap, this second press will produce a straight line in the middle. The line will be straight since you had it exactly placed before attempting to push it.
Step 5
The parchment paper should be removed by raising the top platen. When you unfold your shirt, you’ll see that a vertical line has developed in the exact center. The middle of your shirt is here. You may now place your vinyl transfers using this straight line as a guide.
Conclusion
If you want to center a shirt on a heat press, you need to take the time to measure and mark the center of the plate. You also need to find the center of the shirt and align the two centers. Once you have the shirt centered, you can use tape or clamps to secure it in place. Finally, make sure to use even pressure when pressing the shirt so that it doesn’t get distorted.


