How To Make ID Cards At Home: Step By Step Guide
Replacing an official ID card can be a hassle, mainly since it takes a long time and possibly, replacement fees no one wants to pay. That’s why if you are thinking of how to make id cards at home, you are in luck because this is possible!
Just get a computer, ID card printer, and an Id card printing software, and viola- you will be able to make your photo id card in no time.
Of course, this is illegal. So if you are going to see this through, you will need to take the risk associated with it. Enough with the wait! Scroll down below, and you will know everything about making an identification card!
What Should An ID Card Include?
What you will be putting on your ID card depends on what sort of ID card you will be making. As a matter of fact, it is a good idea to note down all the inclusive material that you will be inputting into your ID card before you finalize to make a photo id.
If you are going to make an employee ID card, it will have a different date from making a club membership ID card. Below we have listed some of the standard data that you need to include when making an employee plastic card :
- Card owner’s biometrics
- Reference number of employee ID number
- Machine recognition marks
- Any information that can be traced back to the company
- Barcodes and similar readable codes
- Logo or Brand of the company
- Name, signature, and photograph of the card owner
- Returning details for when the card is lost and found
- Disclaimer and Property Information
- Personal info like height, weight, age, and sex
- Extra information like card creation date and expiry date
- Relation of the cardholder with the company
What Size Is An ID Card?
When you make a photo id, designing it in the right size is equally as important as placing the correct amount of data in the display of the id. The size of your ID card will depend on the size of the original ID card that you have lost.
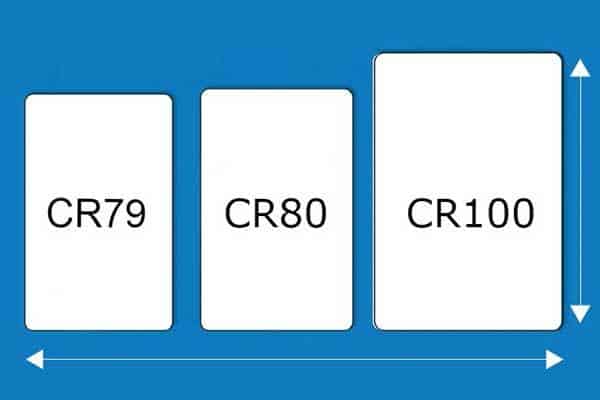
Typically, there are three different sizes of ID cards made for an employee, depending on the place of work. The three standard ID card sizes have been listed as follows:

CR80(86mm x 54mm): This is the most standard and common ID card that is used mostly by schools and hospitals. It is also the easiest to print from a photo ID card printer.
Additionally, library cards, loyalty cards, hotel key cards, and membership cards are also designed in this size. If you are thinking about how to print on pvc cards with inkjet printer, the CR80 size design will come in handy.
CR79 (84mm x 52mm): These ID cards are smaller than the previous entry. These are designed to fit into a protective clamshell, with many already having an adhesive back. These cards are typically designed to be access cards and so might be hard to forge without the help of a professional.
Furthermore, not all ID card printers have the function to produce cars of this size since these cards are smaller than the general use ID cards.
CR100 (100mm x 70mm): These are the largest of all standard use cards. While they are the largest, they aren’t durable and are often thin.
CR100s are ideal for environments where individuals need to be identified quickly and easily, such as at conventions, trade shows, and outdoor events or concerts. What’s more, it doesn’t take a long time to produce these types of cards.
How To Make Plastic ID Cards At Home?
Before proceeding with the main guide, be aware that there are a number of tools you may require in order to create the ID card from the comfort of your own home.
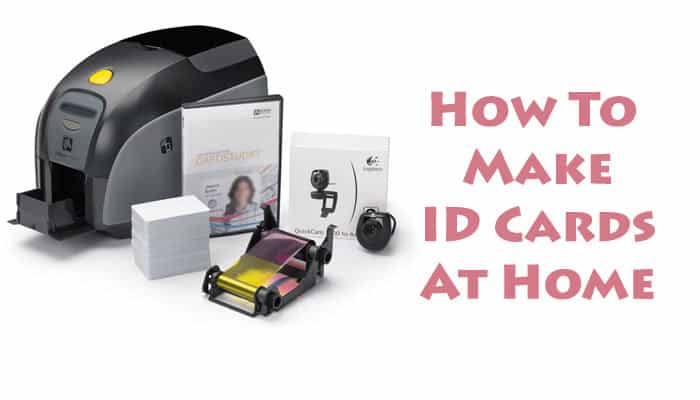
Required Tools and Materials
Some of the more commonly used tools and equipment have been compiled and listed below for your convenience.
- A decent camera
- Computer
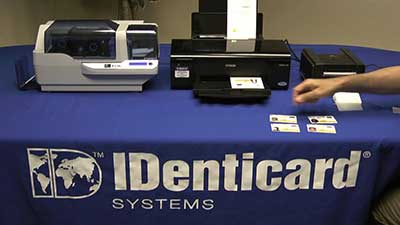
- ID Card Printer
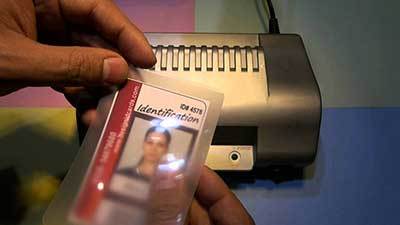
- Lamination machine
- ID Card punch machine
- ID Card hole maker
- PVC for ID Card
- ID Card Strap and other placement items
Now that we are done with all the tools required for the job, we can move on to the main task. Do note that we are under the assumption that you have already taken a photo of the subject beforehand since we will be basing this guide centered around that photo.
Step 1: Design
You will be using your computer to complete the first step in this process. We've already discussed the information that needs to be on your identification card. As a result, you will be designing your ID card after that, depending on your requirements.

You can also use an online ID card creator for this purpose. Furthermore, you can also add barcodes or scannable machine reading codes for security if required. Do make sure that your printer is compatible with these functions before going for those options.
While you are at it, make sure to crop your photo properly before placing it in the appropriate place in the online ID card creator. Resize it if required.
Step 2: Printing
If you are using online ID card software, they will give you the required instructions on how to deal with the printing.
Do note that different software has different instructions depending on the type of printer you own. We recommend you to use Magicard printers because of their high efficiency in getting the job done quickly while consuming less ink.

Use synthetic paper to print the card details. Synthetic paper works wonders by absorbing the ink from the printer and not spreading or deviating from the correct path. You can also opt for micro-perforated sheets that are already precut into the right size.
Step 3: Laminate
Next comes the lamination part. While there are various ways and techniques that you can use to laminate the paper, we recommend that you go for the easiest of them all. This is because if you are an amateur, it will take a long time before success.

Think about what type of surface you want the ID card to be. Will it be glossy or will it be matt? If there are any machine-readable codes or barcodes, you will need to use special lamination plastics or PVC cover for the ID card. These covers will allow the code to be recognized by the machine.
Step 4: Security
This is only an optional step that is not even a requirement for most ID cards. However, if you make an ID card for an especially secretive office or a hospital, you might need to print a sticker or holographic overlays on top of the card.
These are usually transparent and can only be identified by machines. Do note that you will be required to stick them on hand. So apply with care and patience.
Finally, when you are done with the sticker, you can use punching machines to punch holes into the card cover, as long as there is the right place for it. Install a strap or placement holder on the hole as preferred.
Final Thoughts
With this, you should know everything on how to make an identity card at home. Making ID cards isn’t an easy process. It could even end up being a lengthy, complicated project for an amateur.
If you are thinking about ordering forged cards online- we won’t blame you for it. However, if you want to fulfill your curiosity, you are more than welcome to keep on with us.
Remember that there are more ways to create your ID cars. However, the one we provided is the easiest of them all. As long as you are patient and have a careful eye for details, you will be able to forge your lost photo ID card in no time at all!

