How To Make A Homemade Scrapbook
So you want to make a scrapbook, but you don't have a lot of money?
Well, we’ve got some good news for you. With just a few basic materials (cardstock paper), tools (hole punch), and some creativity, you can create a beautiful scrapbook that will last for years.
This how-to guide will walk you through the process of creating your own homemade scrapbook from start to finish. So, you don't have to be crafty or know how to scrapbook professionally in order to make a great one.
Let’s get started!
How to make a homemade scrapbook
What you’ll need
Before we get into the nitty-gritty of this scrapbooking guide, make sure you've got all your supplies. You’ll need:
Printer for scrapbooking (optional)
Scrapbooking printer prints out your pictures on paper that is great for cutting gluing, and otherwise working with. No more paper cuts or ruined photos.
Cardstock paper (any color)
Anything goes! If you want to get fancy, pick up some sheets of decorative paper at a local craft or scrapbooking store. Note that you can also use old magazines or newspaper articles if they have pictures on them.

Glue or other adhesive
You can also use double-sided tape or photo mounting squares if you prefer those kinds of adhesives. Note that glue has a tendency to dry out over time, so we recommend using it sparingly when possible.
NB: Glue sticks will not work for this project because they don’t stick well enough.
Scissors or an X-Acto knife
If using scissors, make sure they are sharp enough to cut through paper without tearing.
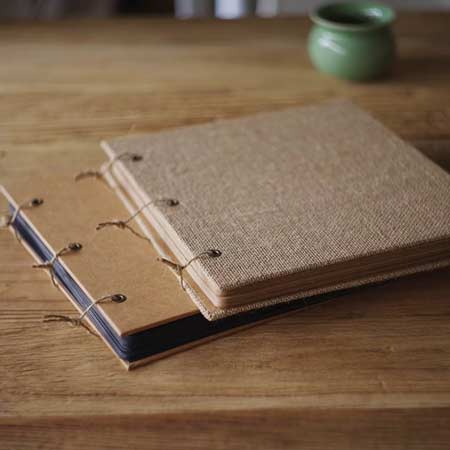
Binder rings
Ensure you get the right size of binder rings. For example, if you want to make a small scrapbook with a few pages, it’s probably best to get smaller binder rings. If you want to make a thicker scrapbook, you might want larger binder rings so that the book hangs together better.
Hole punch (can use any size hole punch)
A ruler to use when you need straight cuts or lines
Pens or markers
Stickers for adding interest to the page
Alphabet stamps for creating your own titles and captions
Choose a theme
Pick a theme. If there are certain things that are important to you, consider making that the theme of your book.
Maybe it’s food (we won't judge), travel, or something related to family or friends. This will help narrow your focus.
Having a theme means you don’t get overwhelmed by options when it comes time to choose photos and decorations for your book. In addition, it makes it easier to start picking out decorations and layouts to make it all fit together.

Put your scrapbook together
Directions:
Cut out pieces of cardstock paper in half lengthwise. Alternatively, you can leave the cardstock paper as it is – it all depends on what page size you prefer.
Arrange these stacks on top of one another so that the first stack is on the bottom and the last stack is on the top.
Start with 5 sheets of paper. Fold them all in half, so that the fold makes up the spine of the book. Punch holes along this edge, making sure to keep them evenly spaced. Do this for as many pages as you want to have in your book.
Put one binder ring through each hole on the pages of your book.
Now it’s time to add the covers!
Use strong paper or cardboard for these. You want your covers to be sturdy enough to keep your pages together well, but not so big that they overpower the rest of the book.
Decorate them however you want! This is where your personality can really shine through and make something truly unique and special. But ensure to decorate the covers in a way that represents your theme.
Choose the perfect page layout
Making a scrapbook is an art. I mean, it’s literally about arranging paper and photos and stuff into a book. But you can't just glue anything to anything and call it done.
First, you have to choose the perfect page layout. You have to make sure that your photos are all in proportion to the borders of your page.
There are a few factors you should consider when you’re choosing your page layout:
What will go on the page?
What kind of page layout best fits with the theme of the book?
How much space do you have on each page?
Once you’ve thought about these things, you can pick the perfect page layout for you.
Place the photos onto the page
Ok, you’ve got the photos, you've got the scrapbook, now what?
It’s time to place your photos onto the scrapbook page!
This is where you can really get creative. You can use glue, double-sided tape, or stickers to hold them down – it’s up to you!
Just ensure that whatever method you choose allows you to move the photos around until they’re perfect!
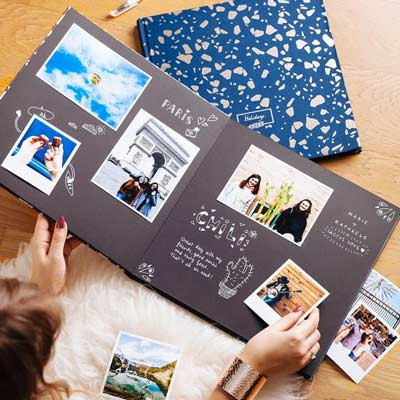
Arrange them on the page in a way that tells a story and makes sense to you. There’s no right or wrong way to arrange the photos - just use your imagination!
Get creative with your design
Decorate the pages however you like!
Add embellishments like stickers, glitter glue, or other decorations around the photos. But don’t go too crazy. You still want people to be able to see your photos!
Write a caption on each photo.
Add text if you want! You can use colored pens and markers or stickers to write captions for your photos, then sign your name and date on each page.
There is no wrong way to do it, so don’t be afraid to experiment!
Conclusion
And there you have it! You now know how to make a scrapbook.
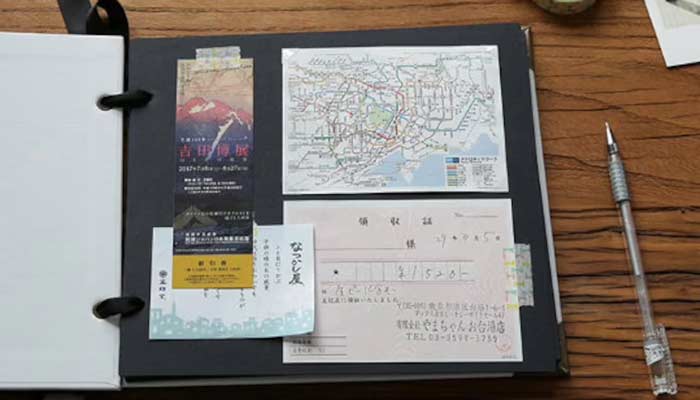
Now it’s time to add your mementos, so you can enjoy your memories for years to come.
Maybe you’ll make another one, too. This time with even more pages or with a different theme.
Don’t worry if it's not perfect - that's part of what makes homemade scrapbooks so special. We just can’t wait to see what you create next!

