
How to Scan a Document from an HP Printer: A Step-by-Step Guide
Imagine this: you’ve got a stack of important documents—receipts, contracts, or even old family photos—that you need to digitize quickly. Your HP printer is sitting there, ready to help, but where do you start?
Scanning documents with an HP printer is easier than you might think, and it can save you time, space, and stress. Whether you’re a small business owner streamlining workflows or someone digitizing personal records, this guide will walk you through the process like a pro. From setting up your printer to saving scans in the right format, we’ve got you covered with expert tips to make scanning seamless.
In this article, we’ll break down everything you need to know about scanning documents from your HP printer. You’ll learn how to set up your device, use different scanning methods, troubleshoot common issues, and even scan directly to email or USB. Let’s dive into the details so you can master your HP printer’s scanning capabilities.
Why Scanning with an HP Printer Matters
Scanning documents is a game-changer for productivity and organization. With an HP printer, you can create digital copies of physical documents, making them easier to store, share, or edit.
This is especially useful for businesses transitioning to paperless systems or individuals preserving important records. HP printers, particularly all-in-one (MFP) models, offer versatile scanning options, including saving to your computer, emailing directly, or storing on a USB drive.
By digitizing documents, you reduce clutter, enhance accessibility across devices, and even cut down on paper waste. Plus, modern HP printers integrate seamlessly with tools like the HP Smart app, making the process user-friendly and efficient.
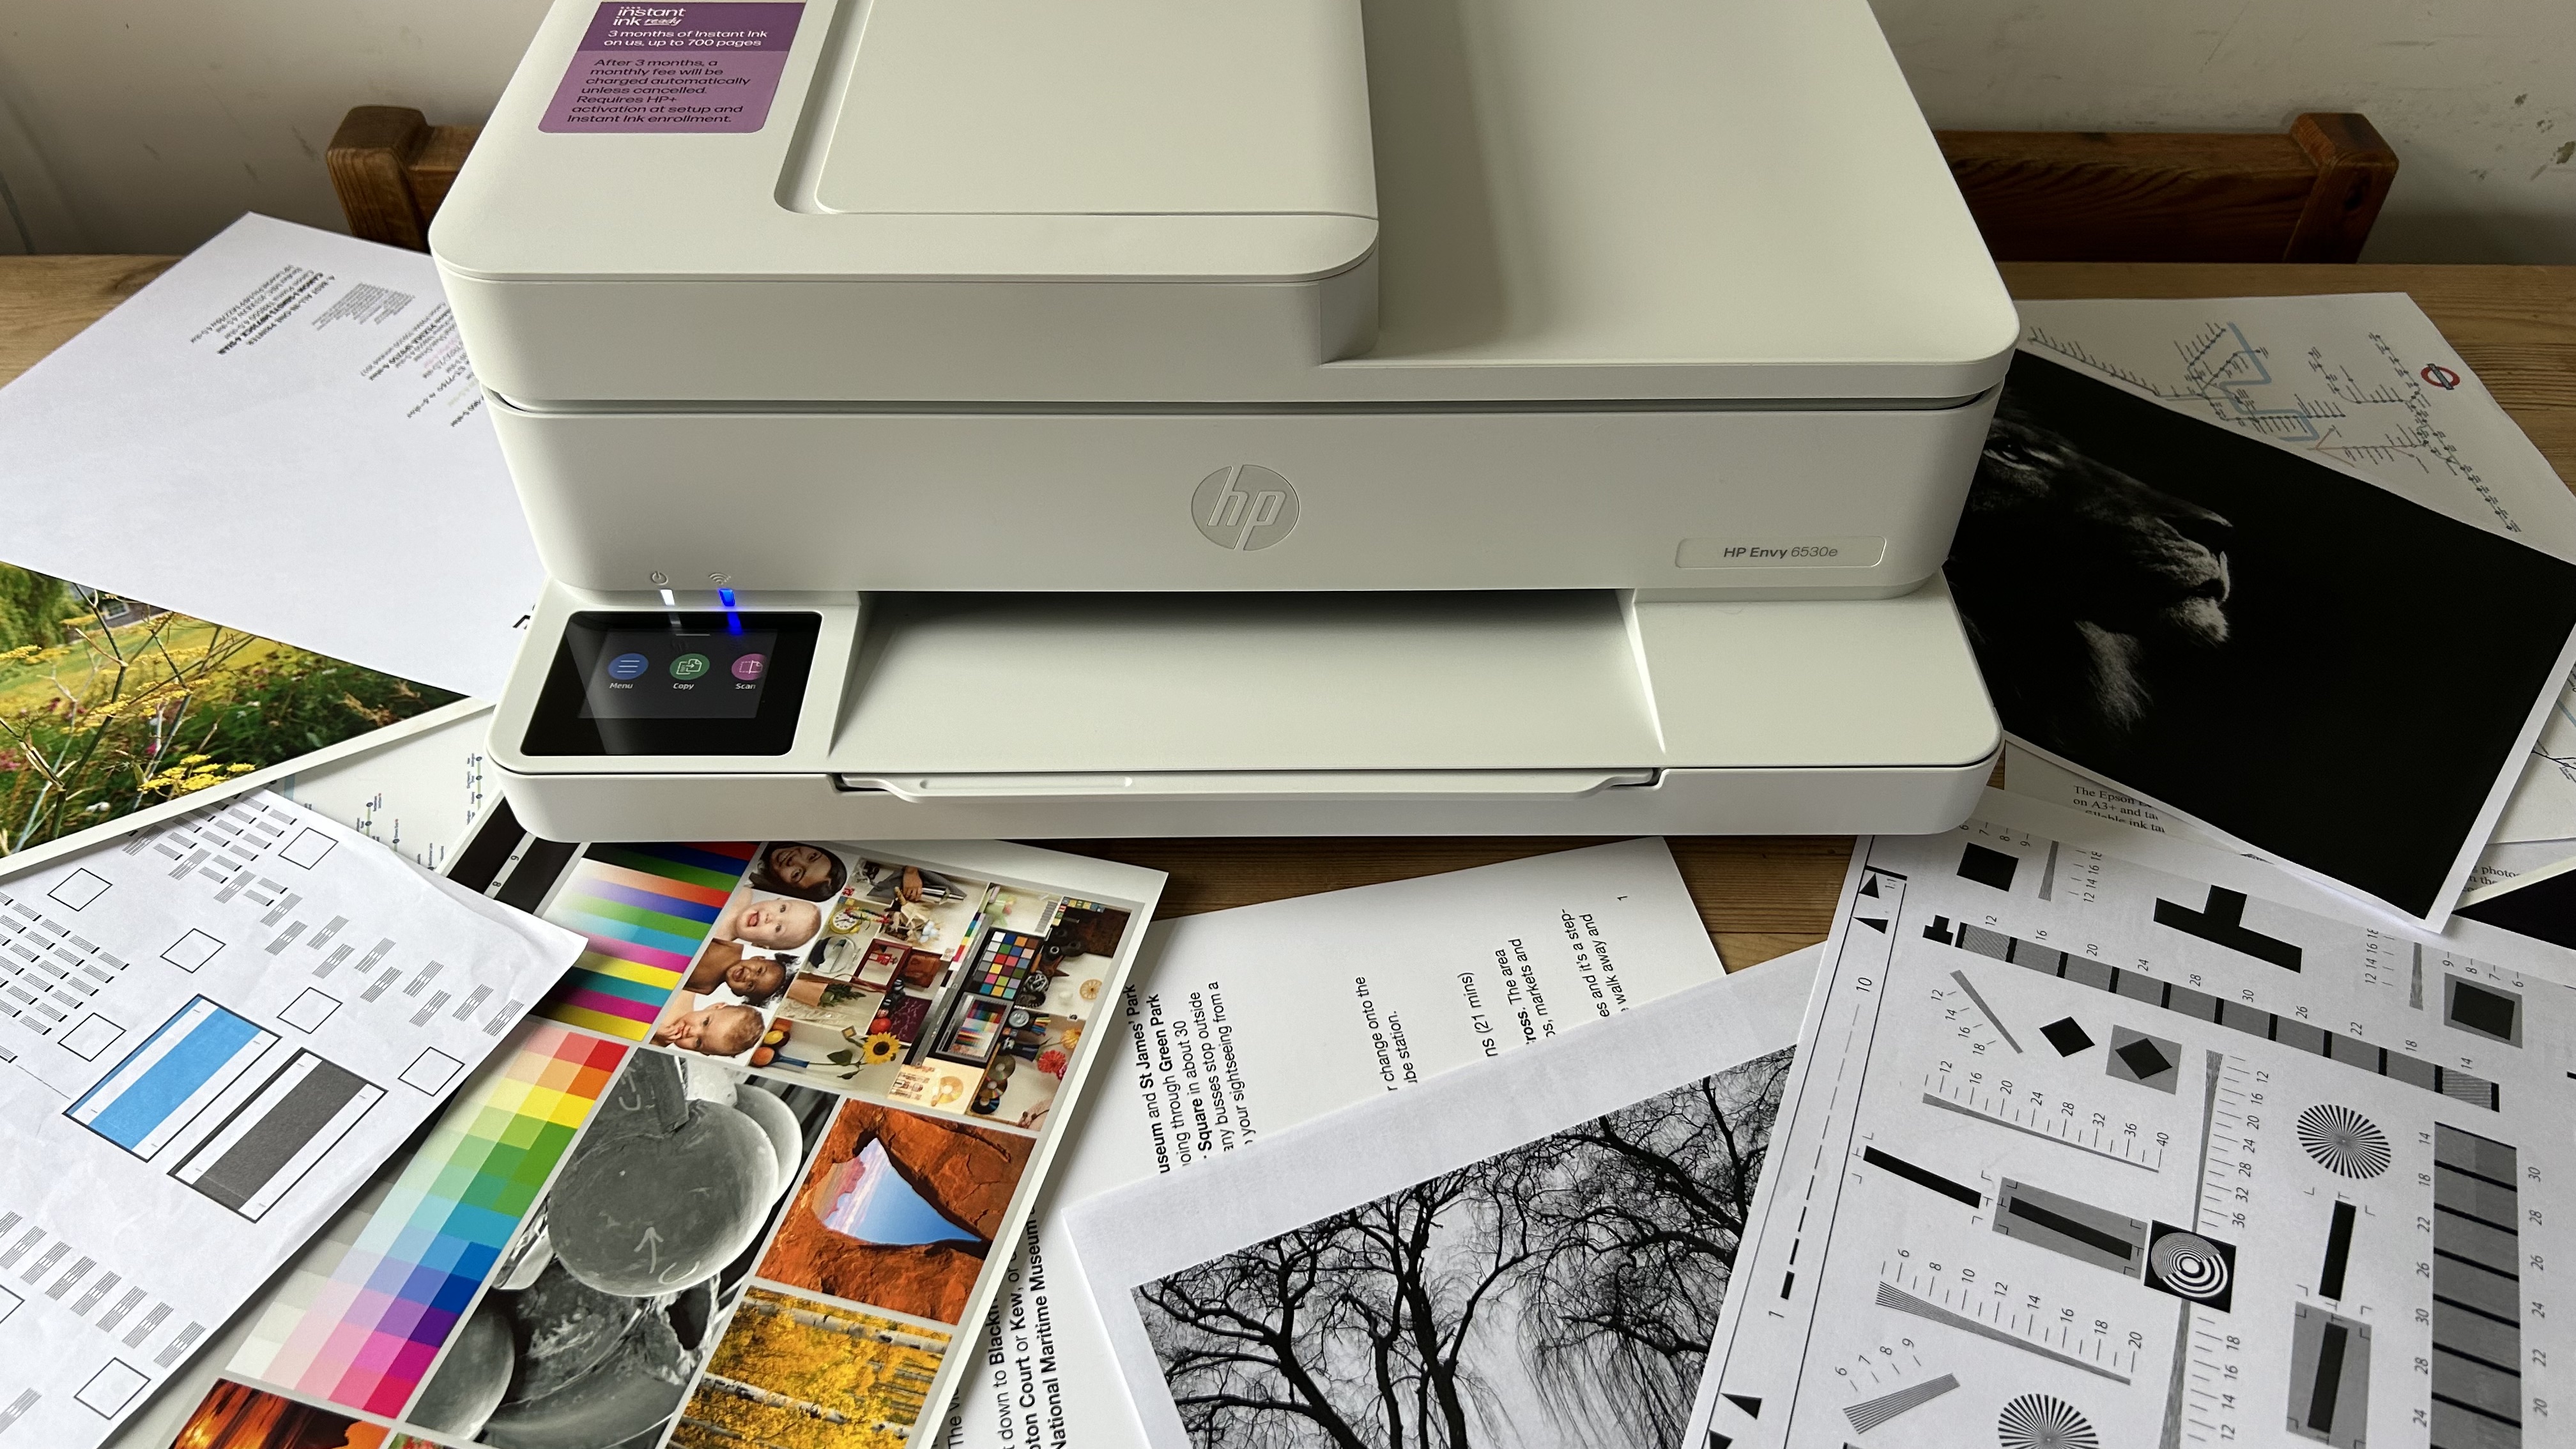
Understanding your printer’s capabilities is key. Most HP all-in-one printers, like the DeskJet, OfficeJet, or ENVY series, come with built-in scanners, either flatbed or with an Automatic Document Feeder (ADF) for multi-page scanning. Knowing how to leverage these features will streamline your workflow and save you time.
Setting Up Your HP Printer for Scanning
Before you start scanning, ensure your HP printer is ready to go. A proper setup is critical for smooth operation, whether you’re using a USB connection or a wireless network. Here’s how to get started:
First, confirm your printer is powered on and connected to your computer or network. For USB connections, plug the cable securely into both the printer and your computer. For wireless setups, ensure the printer is on the same Wi-Fi network as your device.
You can check this via the printer’s control panel under the “Wireless” or “Network” settings. If it’s not connected, use the Wireless Setup Wizard on the printer’s touchscreen to join your network.
Next, install the necessary software. Most HP printers require the HP Smart app or HP Scan software for full functionality. Download the HP Smart app from the Microsoft Store, Mac App Store, or HP’s official website (hpsmart.com).
Alternatively, visit HP’s Customer Support Software and Driver Downloads page to get the latest full-feature drivers for your specific printer model. These drivers ensure your computer recognizes the scanner and supports advanced features like OCR (Optical Character Recognition) for editable text.
Finally, place your document correctly. For single pages, lift the scanner lid and place the document face-down on the scanner glass, aligning it with the guides. For multiple pages, use the ADF (if available) by loading pages face-up, adjusting the paper guides to fit. Now you’re ready to scan!
Scanning Methods: Using HP Smart App, Control Panel, or Windows/Mac Tools
HP printers offer multiple ways to scan, depending on your preferences and setup. Below, we’ll explore the three main methods: using the HP Smart app, the printer’s control panel, and built-in Windows or Mac tools.
Each method has its strengths, so choose the one that fits your needs. This section dives deep into the process to ensure you’re confident with any approach.
Using the HP Smart App (Recommended)
The HP Smart app is the most user-friendly way to scan, offering a sleek interface and versatile options. After installing the app, open it on your computer or mobile device. Select the “Scan” tile to access the scanning interface.
Place your document on the scanner glass or in the ADF. In the app, choose your settings: select the file type (e.g., PDF, JPEG), adjust resolution (300 DPI is standard for documents), and pick color options (color, grayscale, or black and white).
Click “Preview” to check the scan, make adjustments like cropping, then hit “Scan.” Save the file to your preferred location, such as your computer’s “Documents” or “Scans” folder. The app also supports scanning to email or cloud services like Google Drive or Dropbox, which we’ll cover later.
Using the Printer’s Control Panel
If you prefer scanning without a computer, many HP printers allow scanning directly from the control panel. Navigate to the “Scan” option on the printer’s touchscreen (labels may vary, e.g., “Scan to Computer” or “Scan to Email”).
Select your destination (e.g., computer, USB, or email) and adjust settings like resolution or file type if prompted. Place the document on the scanner glass or ADF, then press “Start” or “Scan.”
The scanned file will be sent to the chosen destination, though you may need to configure email settings via the printer’s Embedded Web Server (EWS) for scan-to-email functionality. This method is ideal for quick scans without software.
Using Windows or Mac Built-In Tools
For Windows users, open “Windows Fax and Scan” from the Start menu. Click “New Scan,” select your HP printer, and adjust settings like file type or color format. Click “Preview,” then “Scan,” and find the file in the “Scanned Documents” folder.
On a Mac, go to the Apple menu, select “System Preferences,” then “Printers & Scanners.” Choose your printer, click the “Scan” tab, and select “Open Scanner.” Adjust settings, scan, and save to your desired location. These tools are great if you want to avoid additional software.
Each method offers flexibility, but the HP Smart app is often the most versatile, especially for mobile users or those needing advanced features like cloud integration. Experiment to find what works best for you.
Scanning to Email or USB: Advanced Options
HP printers make it easy to scan directly to email or USB, which is perfect for sharing documents or storing them externally. Here’s how to use these advanced features:
Scanning to Email
To scan to email, ensure your printer supports this feature (check the user manual or HP’s website). Using the HP Smart app, scan your document as described above, then select “Share” or “Send to Email.” The app will prompt you to compose an email with the scanned file attached.
Alternatively, some printers allow scan-to-email from the control panel. You’ll need to configure email settings via the printer’s Embedded Web Server (EWS) by entering your SMTP server details and credentials. If the scan-to-email option is missing, update your printer’s firmware and verify email settings. This is ideal for small business owners sending invoices or contracts directly.
Scanning to USB
For USB scanning, plug a USB drive into the printer’s USB port. On the control panel, select “Scan to USB,” place your document on the scanner glass or ADF, and adjust settings like file name or format. Press “Scan,” and the file will save directly to the USB. This method is great for users without internet access or those needing portable backups.
Both options enhance efficiency, especially for remote workers or those managing sensitive documents. Always double-check file formats (PDF is best for documents) and ensure your printer’s firmware is up to date for smooth operation.
Common Mistakes to Avoid When Scanning
Even seasoned users can run into hiccups when scanning. Here are common mistakes and how to avoid them:
- Incorrect Document Placement: Placing documents misaligned on the scanner glass or ADF can lead to crooked or incomplete scans. Always align documents with the guides on the scanner bed or ADF tray.
- Outdated Software or Drivers: Outdated drivers can cause scanning failures. Regularly check HP’s support website for the latest drivers and firmware updates for your printer model.
- Wrong File Format: Choosing the wrong format (e.g., JPEG for multi-page documents) can cause issues. Use PDF for documents and JPEG for photos unless otherwise required.
- Poor Connection: A shaky USB or Wi-Fi connection can interrupt scanning. Ensure stable connections and restart devices if needed.
- Low Resolution: Scanning at a low DPI (e.g., below 150) can result in blurry files. Use 300 DPI for standard documents and higher for photos.
By avoiding these pitfalls, you’ll ensure high-quality scans and a frustration-free experience. If issues persist, consult HP’s support or community forums for model-specific advice.
Troubleshooting Scanning Issues
Running into problems? Don’t worry—most scanning issues have simple fixes. If your scanner isn’t detected, check that the printer is powered on and connected properly. For wireless setups, confirm both devices are on the same network. Restarting the printer and computer often resolves connectivity glitches.
If scans are blurry or incomplete, verify document placement and clean the scanner glass with a soft, lint-free cloth. Outdated software can also cause errors—update the HP Smart app or drivers from HP’s website.
For scan-to-email issues, ensure SMTP settings are correct in the EWS and that your email account is linked. If the printer displays an error code, note it and check HP’s support site for specific solutions.
For persistent issues, HP’s community forums or customer support can provide tailored assistance. Be cautious of fake support numbers online—always use official HP channels.
The Future of Scanning with HP Printers
Scanning technology is evolving, and HP is at the forefront. Modern HP printers integrate with cloud services like Google Drive and Dropbox, making it easier to store and access scans remotely. Features like OCR are becoming standard, allowing you to convert scans into editable text, which is a boon for businesses digitizing records.
Looking ahead, expect HP to enhance mobile scanning via the HP Smart app, with improved AI-driven features for auto-cropping and quality enhancement. Sustainability is also a focus, with HP promoting paperless workflows to reduce waste. Staying updated with firmware and app upgrades will keep your printer ready for these advancements.
Conclusion
Scanning documents with an HP printer is a powerful way to digitize your life, whether for work or personal use. From setting up your printer to choosing the right scanning method, this guide has covered the essentials to make the process smooth and efficient.
Avoid common mistakes, leverage advanced features like scan-to-email or USB, and troubleshoot issues with confidence. Ready to get started? Grab a document, fire up your HP printer, and try scanning with the HP Smart app or control panel. For more tips or model-specific help, visit HP’s support website.
A trolley is heading toward you, missing out on future productivity hacks like these. Pull the subscribe button to stay in the loop with more expert guides! Jokes aside, consider subscribing to our blog for more tech tips, and share your scanning success stories in the comments below. Now, let’s get those documents digitized!